Let’s test a Genesys chatbot with AI
Let’s create an automated test for our Genesys chatbot that leverages the latest in Generative AI! In this article I thought it might be fun to demonstrate the new feature I created for an open-source testing tool I created, which I recently posted about. It’s super simple to use, so you could even follow along with your own chatbot.
Let’s jump straight in and install the tool!
Installing Genesys Cloud Chatbot Tester
Genesys Cloud Chatbot Tester is a command-line application you install on your machine. It’s free, open-source, works on Windows, Mac and Linux and is versatile enough to be integrated into automated pipelines, as well as run locally on your machine.
Although we’ll be creating an AI-based test, you can also use it to write more conventional dialogue based tests.
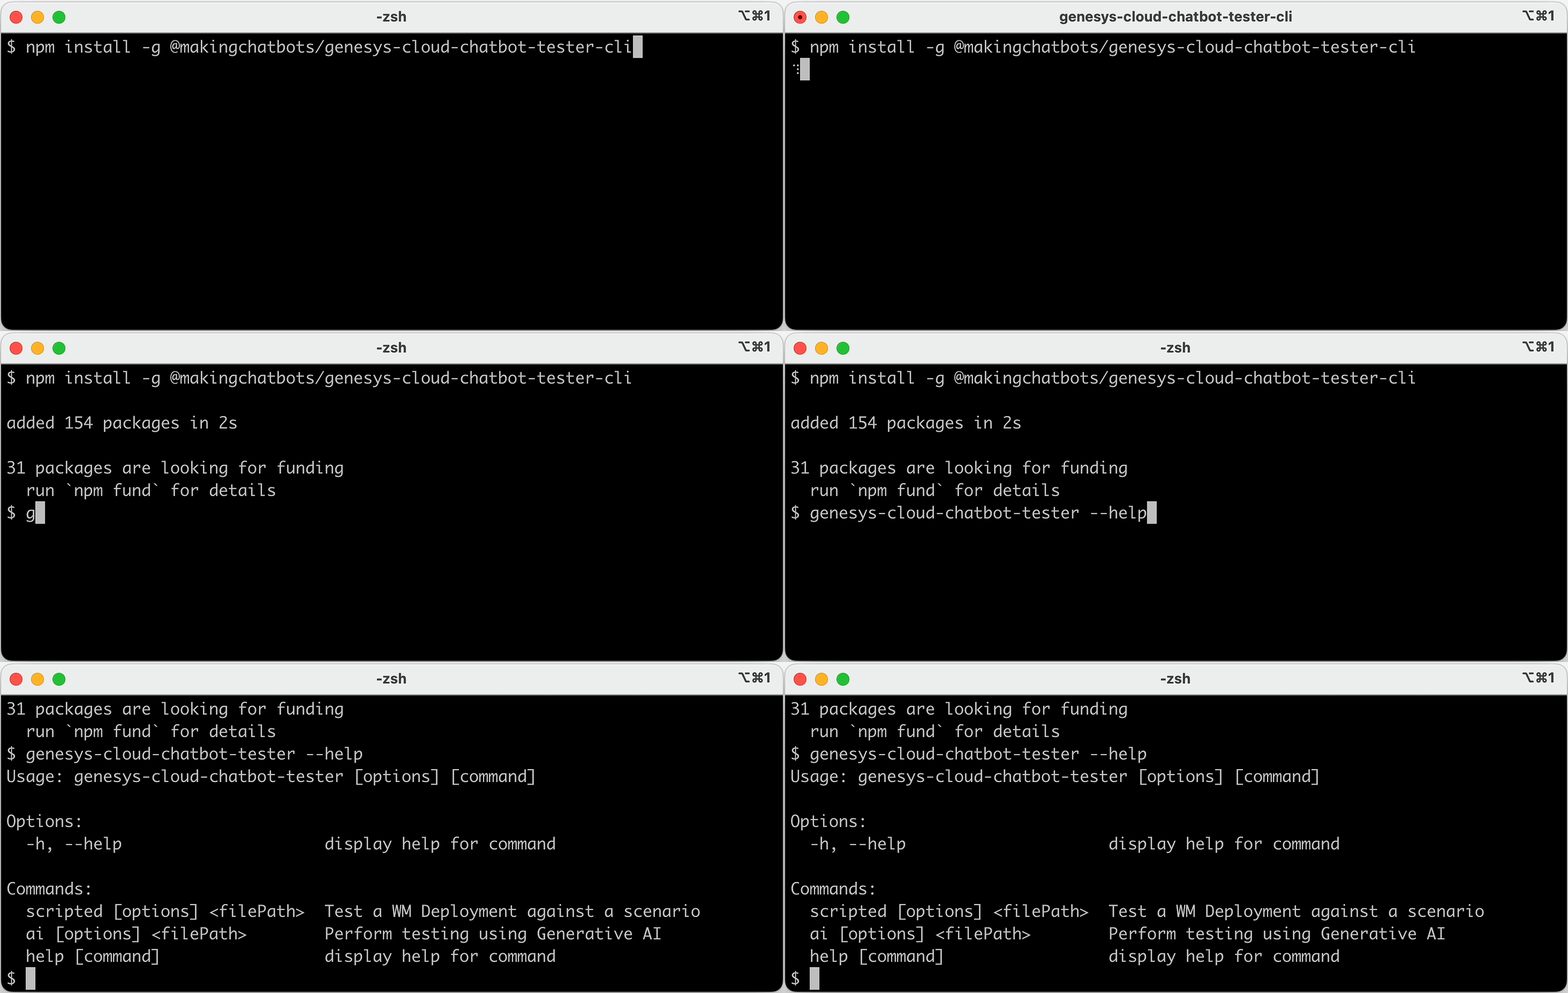
To install it just open the command-line and run:
npm install -g @makingchatbots/genesys-cloud-chatbot-tester-cliIf your computer complains that you don’t have NPM or Node.js then you can download the installer at nodejs.org.
Creating an API key for OpenAI
The testing tool leverages OpenAI’s ChatGPT to realistically converse with your chatbots during the tests. However, to be able to use OpenAI’s API you will need an API key.
Getting an API key is as easy as:
Going to OpenAI and creating an account (if you don’t already have one)
Following their instructions for creating an API key
Following their guide to set your API Key on the same computer as the testing tool
Whilst my tool is free, using OpenAI’s API is not - although its pricing seems reasonable, and is usage based.
Writing our automated AI test
Now the fun part, writing our test. A test is defined in a file (a YAML formatted file to be precise) and contains 3 notable parts:
deploymentId- The ID of our Web Messenger Deployment that we want to testprompt- The Prompt used to instruct ChatGPT how we want it to interact with our bot (more on this below)terminatingPhrases- The phrases we want the testing tool to look out for that indicate whether the test passed or failed
We can see these 3 parts in the config file for our test:
config:
  deploymentId: xxxxxxxx-xxxx-xxxx-xxxx-xxxxxxxxxxxx
  region: xxxx.pure.cloud
  ai:
    provider: chatgpt
scenarios:
  "Chatbot recognises ISBN numbers":
    setup:
      prompt: |
        I want you to play the role of a customer talking to a company's
        online chatbot. You must not break from this role, and all of
        your responses must be based on how a customer would
        realistically talk to a company's chatbot.

        To help you play the role of a customer consider the following
        points when writing a response:
          * Respond to questions as a customer would to a chatbot
          * Answer with the exact word when given options e.g. if asked
            to answer with either 'yes' or 'no' answer with either 'yes'
            or 'no' without punctuation, such as full stops

        As a customer you would like to get more information for a book,
        based on its ISBN.
        Provide the ISBN 0141439513 and if the title is Jane Austen's
        Pride and Prejudice then say 'PASS' else say 'FAIL' along with
        the reason why you failed.

        If you have understood your role and the purpose of your
        conversation with the company's chatbot then say the word
        'Hello' and nothing else.
      terminatingPhrases:
        pass: ["PASS"]
        fail: ["FAIL"]
Instructing ChatGPT on what to test
The prompt section instructs ChatGPT of the role it will be playing when conversing with our chatbot, and what we want it to achieve.
Getting the prompt just right for your tests can involve a bit of trial and error, but there are plenty of guides to help you.
Deciding when a test passes or fails
The terminatingPhrases are what my tool is looking out for during the conversation. Depending on which one it sees in the response from ChatGPT it will either pass or fail the test.
In the test above the prompt is instructing ChatGPT to use the words PASS or FAIL.
Running the test
With the tool installed, OpenAI’s key set and a test file defined we can now run the test! This is as easy as running the command below and pointing it at the test file we defined above:
genesys-cloud-chatbot-tester ai test.yamlIt’s that simple! If you end up using this tool I’d love to hear how you got on, or what improvements you think could be made to the tool.
Like what you read? Follow me on LinkedIn to be notified of future articles.


